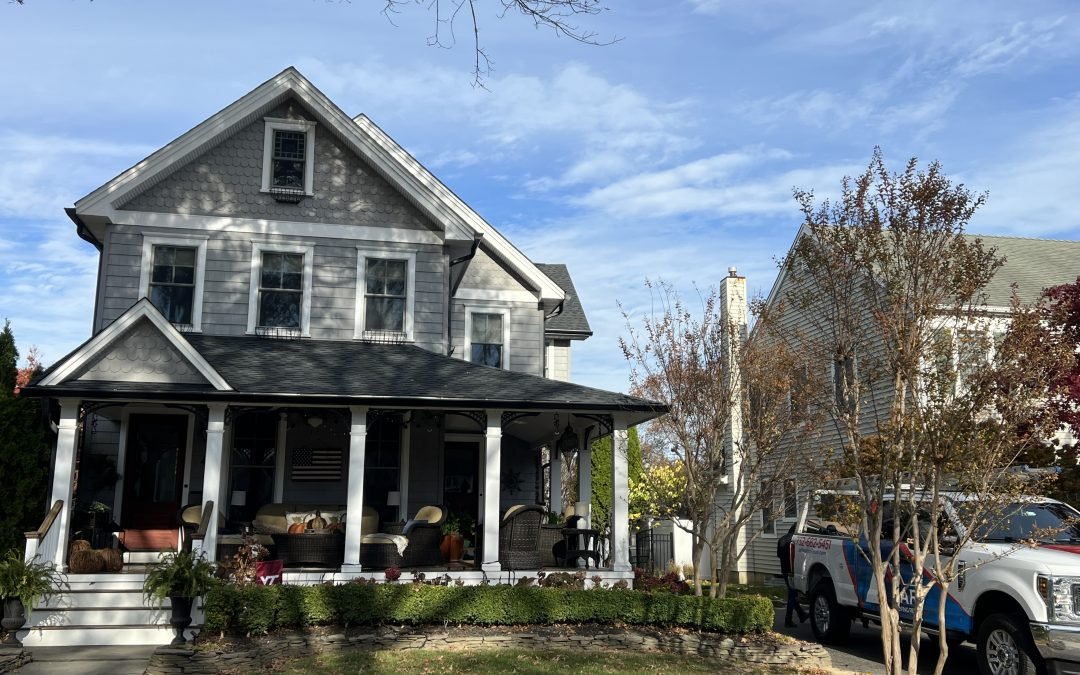
Choosing to install new siding on your home is a significant decision that can enhance its appearance, improve energy efficiency, and protect it from the elements. At JAR Roofing Repair, we understand that embarking on a siding installation project can seem overwhelming. Knowing what to expect can alleviate concerns and ensure a smoother experience. In this comprehensive guide, we’ll walk you through the siding installation process, detailing each step to help you understand what to expect when you work with our professional team.
Step 1: Initial Consultation and Assessment
1. On-Site Evaluation: The process begins with an on-site evaluation. Our team will visit your home to assess the current condition of your siding, measure the exterior, and discuss your goals and preferences. This evaluation helps us understand the scope of the project and identify any potential issues that need to be addressed before installation.
2. Material Selection: Based on the assessment, we’ll guide you through the selection of siding materials. Whether you prefer vinyl, fiber cement, wood, or another option, we’ll help you choose the best material that suits your aesthetic preferences, budget, and durability requirements.
3. Detailed Estimate: After finalizing the materials, we’ll provide you with a detailed estimate that outlines the cost of materials, labor, and any additional services. This transparent estimate ensures you understand the financial commitment and can make an informed decision.
Step 2: Preparation and Planning
1. Scheduling the Installation: Once you approve the estimate and choose your materials, we’ll schedule the installation at a convenient time. We aim to minimize disruption to your daily routine and will work with you to find the best timeframe.
2. Obtaining Permits: Depending on your local regulations, certain permits may be required for siding installation. At JAR Roofing Repair, we handle all the necessary paperwork and obtain the required permits to ensure the project complies with local building codes.
3. Pre-Installation Inspection: Before starting the installation, we conduct a thorough inspection of your home’s exterior to identify any underlying issues, such as rot or structural damage, that need to be addressed. Resolving these issues ensures the new siding will be installed on a sound surface.
Step 3: Removal of Old Siding
1. Safe and Efficient Removal: The installation process begins with the removal of the old siding. Our team takes care to remove the existing siding safely and efficiently, minimizing dust and debris around your home.
2. Disposal: We manage the disposal of the old siding materials, ensuring they are removed from your property and disposed of in an environmentally responsible manner. This leaves your property clean and ready for the new installation.
Step 4: Inspection and Repair of the Underlying Structure
1. Inspecting the Sheathing: With the old siding removed, we inspect the underlying sheathing (the layer of material between your home’s frame and the siding) for any damage or rot. This step is crucial for ensuring the new siding has a solid foundation.
2. Making Necessary Repairs: If we find any issues, we make the necessary repairs to the sheathing or framework. This may include replacing damaged sections, adding insulation, or addressing moisture barriers to prevent future issues.
Step 5: Installing the New Siding
1. Weather Barrier Installation: Before the new siding is applied, we install a weather-resistant barrier (such as house wrap) over the sheathing. This barrier provides an extra layer of protection against moisture and helps improve the energy efficiency of your home.
2. Siding Installation: Our skilled team then begins the installation of the new siding. This process involves carefully aligning the siding panels, securing them in place, and ensuring each piece fits together seamlessly. Attention to detail during this step is crucial for both the appearance and performance of the siding.
3. Trim and Finishing Touches: Once the siding panels are in place, we add the trim around windows, doors, and corners. These finishing touches not only enhance the appearance of your home but also provide additional protection against water infiltration.
Step 6: Final Inspection and Cleanup
1. Thorough Inspection: After the installation is complete, we conduct a thorough inspection to ensure the siding is installed correctly and meets our high standards of quality. We check for any imperfections, secure all fasteners, and ensure the trim is properly installed.
2. Cleanup: We clean up the work area, removing any leftover materials, debris, or tools. Our goal is to leave your property looking better than when we arrived, with your new siding as the highlight.
Step 7: Client Walkthrough and Satisfaction
1. Client Walkthrough: We perform a final walkthrough with you to ensure you are completely satisfied with the installation. During this walkthrough, we answer any questions you may have, provide maintenance tips, and ensure all your expectations have been met.
2. Warranty and Support: At JAR Roofing Repair, we stand behind our work. We provide a warranty on our siding installation services, giving you peace of mind that your investment is protected. Our team is also available for any future support or maintenance needs you may have.
Conclusion: Trust JAR Roofing Repair for Your Siding Installation Needs
Understanding the siding installation process helps you feel confident and informed as you embark on this important home improvement project. At JAR Roofing Repair, we are committed to providing top-quality siding installation services with exceptional customer care. From the initial consultation to the final inspection, our team is dedicated to ensuring your satisfaction and enhancing the beauty and protection of your home. Contact us today to schedule your consultation and take the first step towards transforming your home’s exterior with new, high-quality siding.

